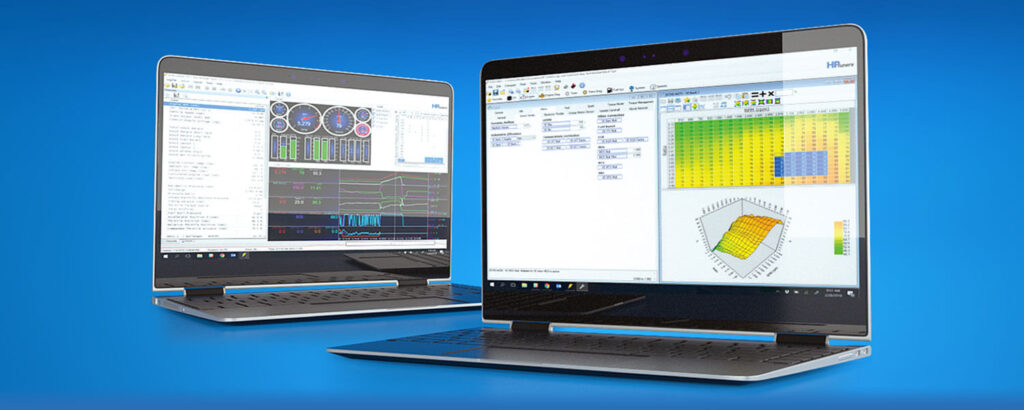
HP Tuners is a powerful tool for tuning and monitoring vehicle performance. Whether you’re a beginner or a seasoned tuner, knowing how to add a channel is essential to gathering the right data for your vehicle. This guide will walk you through the process step-by-step to ensure you can make the most of your HP Tuners software.
What is a Channel in HP Tuners?
A channel in HP Tuners refers to a specific data point that the software reads and logs from your vehicle. Common examples include engine RPM, throttle position, and air-fuel ratio. Adding the right channels helps you monitor critical parameters and diagnose performance issues more effectively.
Why Add Channels in HP Tuners?
Adding channels ensures you’re logging the most relevant data for your tuning or diagnostic session. It allows you to:
- Analyze vehicle performance.
- Identify potential problems.
- Optimize tuning adjustments.
- Ensure the safety of modifications.
Step-by-Step Guide to Adding a Channel in HP Tuners

Step 1: Launch the VCM Scanner
Open the HP Tuners VCM Scanner on your computer. This is the main tool for monitoring and logging vehicle data.
Step 2: Connect to Your Vehicle
- Plug the HP Tuners device into your vehicle’s OBD-II port.
- Connect the device to your computer via USB.
- Turn the vehicle’s ignition to the “On” position, but don’t start the engine.
- In the VCM Scanner, click the Connect to Vehicle button.
Step 3: Access the Channel Selector
Once connected, look for the Channels tab in the scanner interface. Click on it to open the channel list.
Step 4: Add a New Channel
- In the channel list, click the Add Channel button (usually represented by a “+” symbol).
- A new window will appear, showing a list of available channels.
- Browse through the categories or use the search bar to find the channel you need. For example, if you want to log the throttle position, type “Throttle” in the search bar.
Step 5: Select the Desired Channel
Click on the channel you want to add. The software will display the available parameters and units for that channel. Confirm your selection by clicking OK or Add (depending on your version).
Step 6: Arrange Channels (Optional)
You can drag and drop channels to arrange them in your preferred order. This makes it easier to view critical data during logging.
Step 7: Save Your Layout
Once you’ve added all the necessary channels, save your channel layout. This ensures you won’t need to repeat the setup process for future sessions. Click File > Save Layout to store your configuration.
Step 8: Start Logging
Click the Start Scanning button to begin logging data from the selected channels. You can now monitor real-time data or save it for later analysis.
Tips for Choosing the Right Channels

- Match Channels to Your Goals: If you’re tuning for fuel efficiency, focus on channels like fuel trims, air-fuel ratio, and load. For performance tuning, prioritize boost, throttle position, and RPM.
- Don’t Overload Your Layout: Adding too many channels can slow down the logging process. Stick to the essentials for your session.
- Review Manufacturer Data: Check your vehicle’s documentation to ensure compatibility with specific channels.
Troubleshooting Common Issues
1. Channel Not Available
If the channel you need isn’t listed, first check if your vehicle supports the parameter. Some vehicles may not have certain sensors or data points available. Additionally, make sure your HP Tuners software and firmware are up to date, as updates often include new features and expanded compatibility.
2. Data Logging Errors
When the scanner fails to log data, ensure your OBD-II connection is secure. Loose or damaged connections can disrupt the process. Restart the VCM Scanner software and reconnect to the vehicle to resolve temporary issues. If the problem persists, verify that your vehicle is in the proper “On” position and ready for scanning.
3. Unusual Readings
Unexpected or incorrect data can indicate a sensor issue or misconfigured settings. Double-check your channel setup and confirm that the units match your requirements. If the problem continues, inspect the vehicle’s sensors to rule out hardware malfunctions. Regular maintenance and calibration can help avoid these issues.
Conclusion
Adding a channel in HP Tuners is a straightforward process that can unlock deeper insights into your vehicle’s performance. By following the steps outlined above, you’ll be able to customize your data-logging experience and achieve better tuning results. Remember to save your channel layout for future use and regularly update your software for the best experience.
With the right channels in place, you’re set to optimize your vehicle and reach your performance goals. Happy tuning!

